
Back in April, VMware announced vRealize Operations Manager 7.5 and one of the prominent feature that came with it was improved application monitoring.
Since 7.5 has been generally available for a while, I’ve put together this post which helps you in setting up the new improved application monitoring feature and the first step towards it is setting up the Application Remote collector appliance.
vRealize Application Remote Collector enables virtual infrastructure administrators and application administrators to discover applications running in provisioned Guest operating systems allows them to collect run-time metrics of the operating system and application. The monitoring and troubleshooting workflows are enabled from vRealize Operations Manager and it can be integrated with either Wavefront or vRealize Operations Manager.
Also there is a new and improved ‘Telegraph‘ agent which gets deployed onto your virtual machines. Many of the application and operating system monitoring features are not enabled until the agent is installed. The Application remote collector also lets up perform life cycle management of the agents on the Virtual Machines. Similar to a standard Remote Collector, this appliance is used to connect to the agents, offloading that work from the main vROps cluster.
In the below post we will look into the steps for Setting up the new Application remote collector appliance :
Deploying the Application Remote Collector Appliance
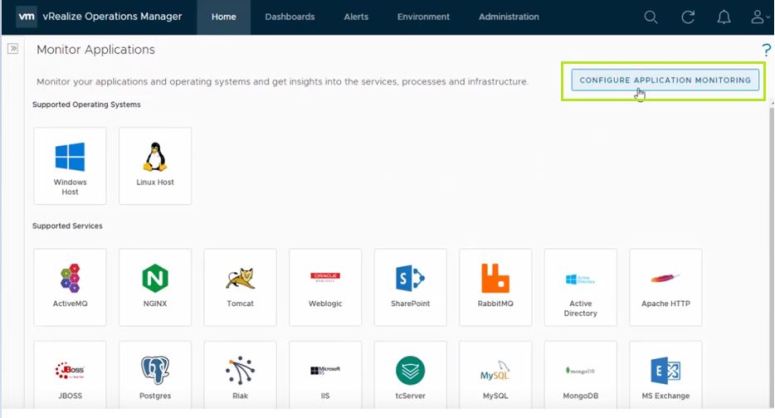
Login to your vRops UI and Browse to Home > Monitor Applications
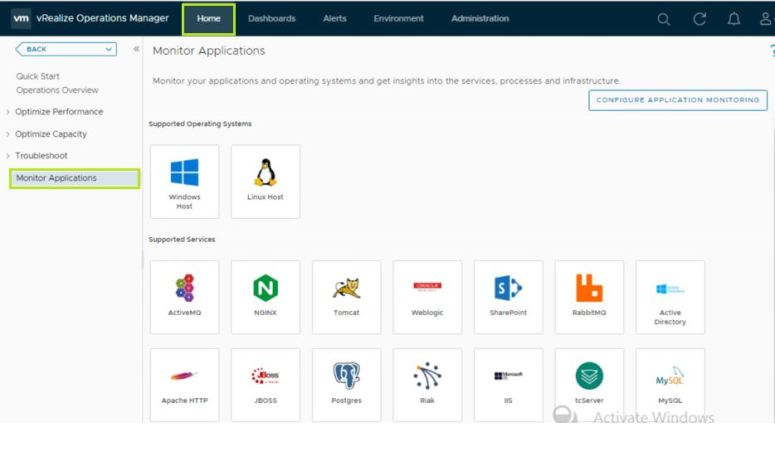
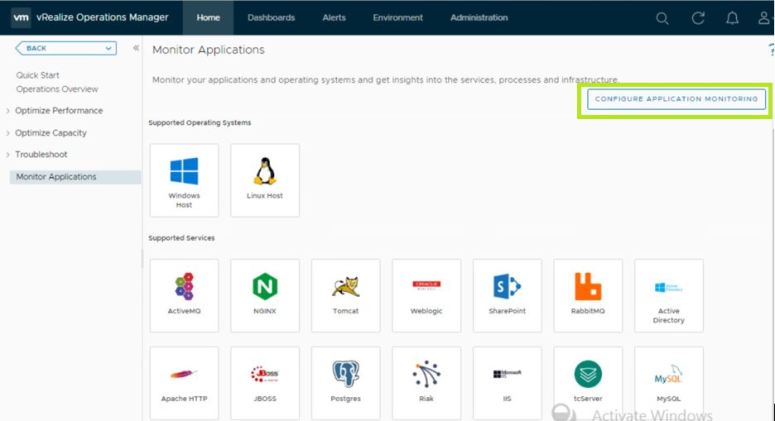
Click on Configure Application Monitoring
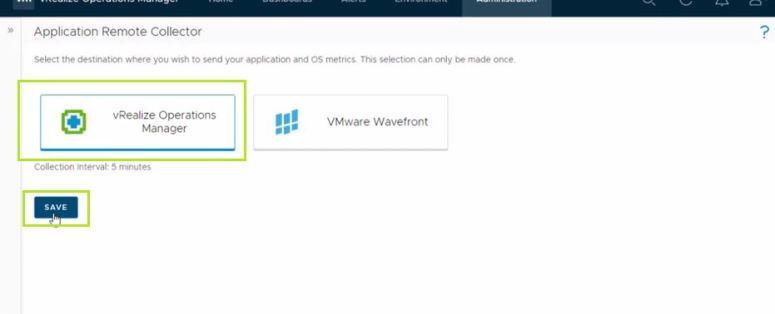
Only during the first time configuration, you will be provided with an option to select the destination for your collected metrics which can be either vRealize Operations Manager or VMware Wavefront.
Note : This is a one time selection and it cannot be changed later.
Select the desired destination and click on Save
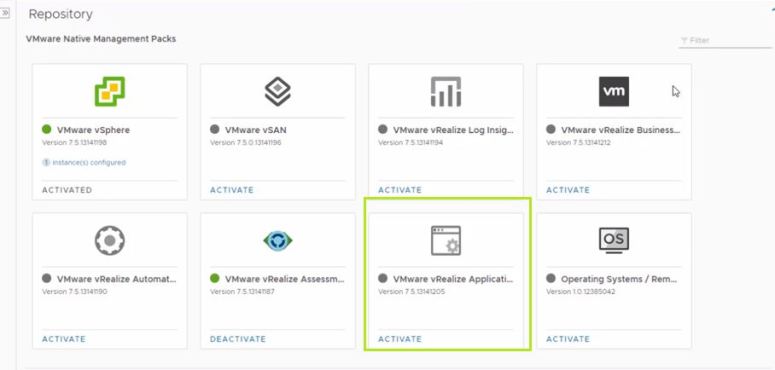
Now you need to activate the Application Management Pack. Click the Activate link.
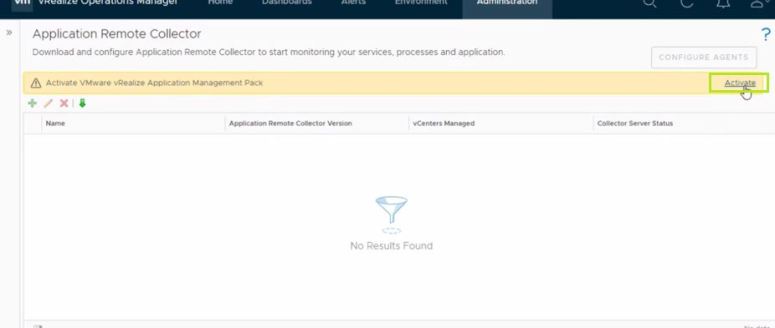
This will redirect you to the solutions repository page. Here you need to Activate the VMware vRealize Application Management Pack.
The VMware vRealize Application Management Pack is a native management pack which is already included with vRealize Operations Manager. The Pack only needs to be activated.
Select the VMware vRealize Application Management Pack and Click on Activate
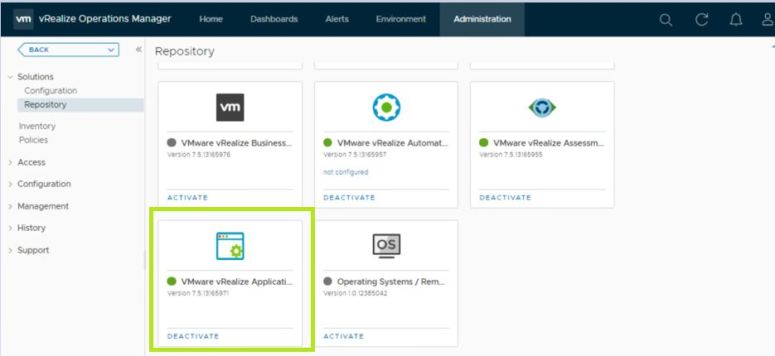
The Activation process will take some time. Wait until the status of the Management Pack turns to Active Green State.
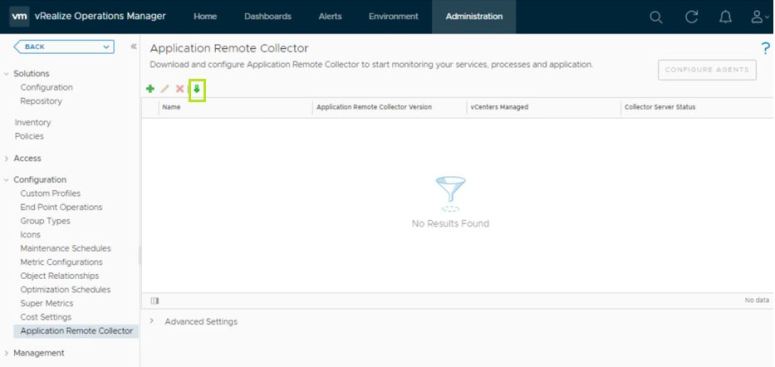
Once the Application Management Pack has been activated. Browse to Home > Application Monitoring and Click on Configure Application Monitoring
It will take you to the Application Remote Collector screen from where you can download the OVF file for the Appliance.
Click on the download button to start the download of the OVF File.
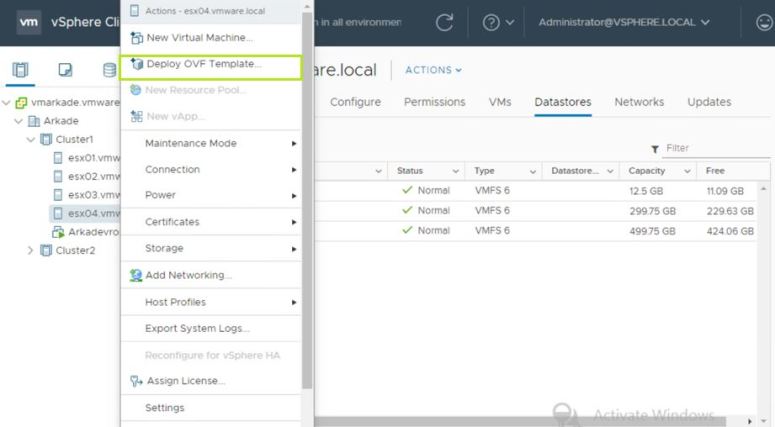
Once downloaded, deploy the ARC Appliance using the vSphere client.
From the Actions drop-down Select the Deploy OVF Template Action.
On the Select an OVF Template screen, Select Local file and Click on Choose Files to browse to the location of the OVF Template downloaded for ARC Appliance.
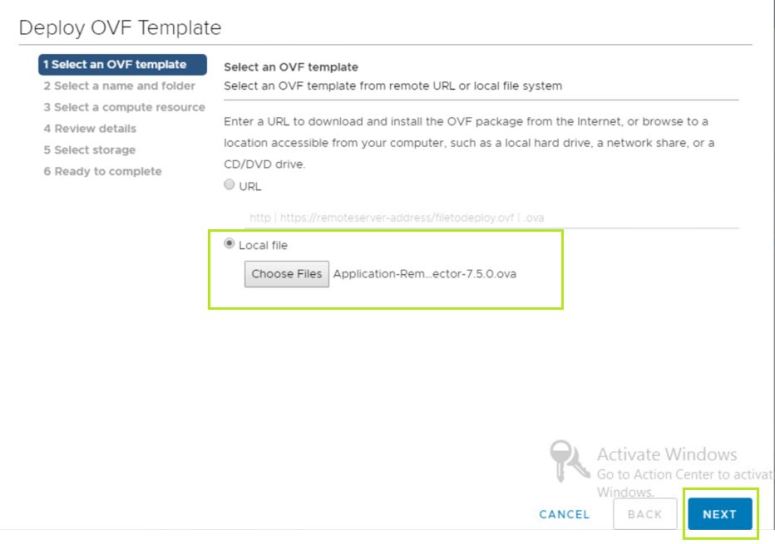
Click Next
On the Select a Name and Folder Screen, Enter the name for the Virtual Machine Appliance and Select the Location for the Appliance.
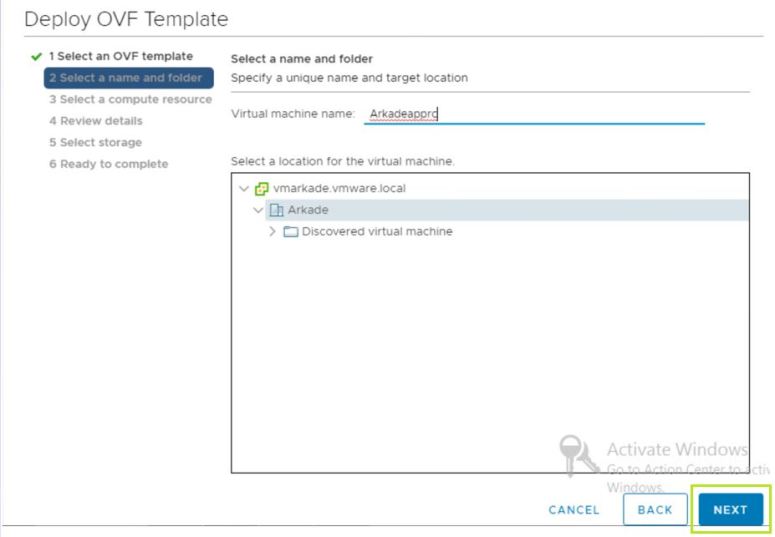
Click Next
On the Next Screen, Select the Esxi host or Cluster where you want to place the Virtual Appliance.
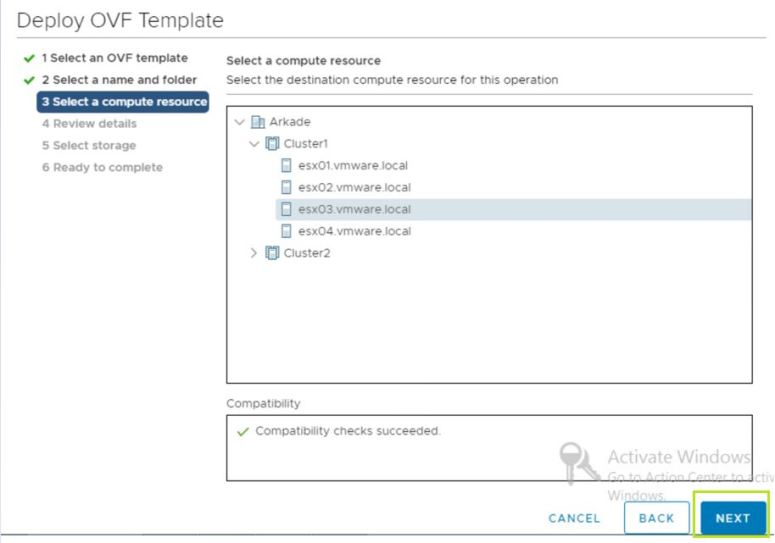
Click Next
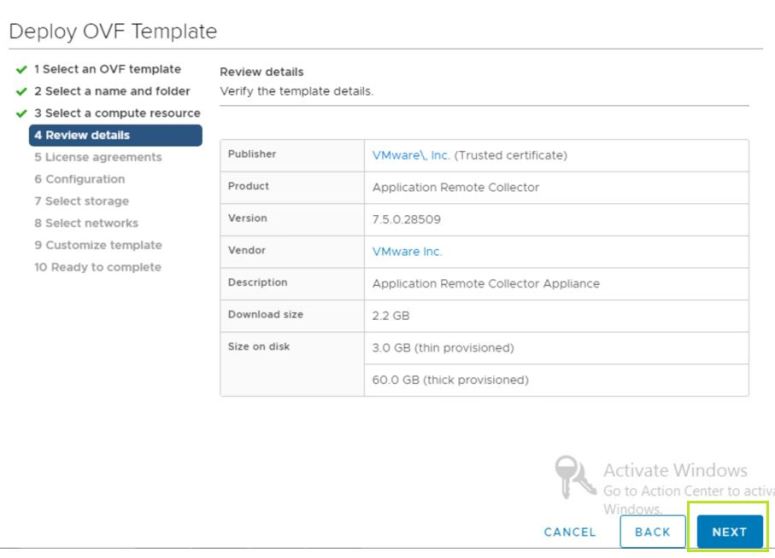
In the Review details dialog box, Review the summary details, Click Next.
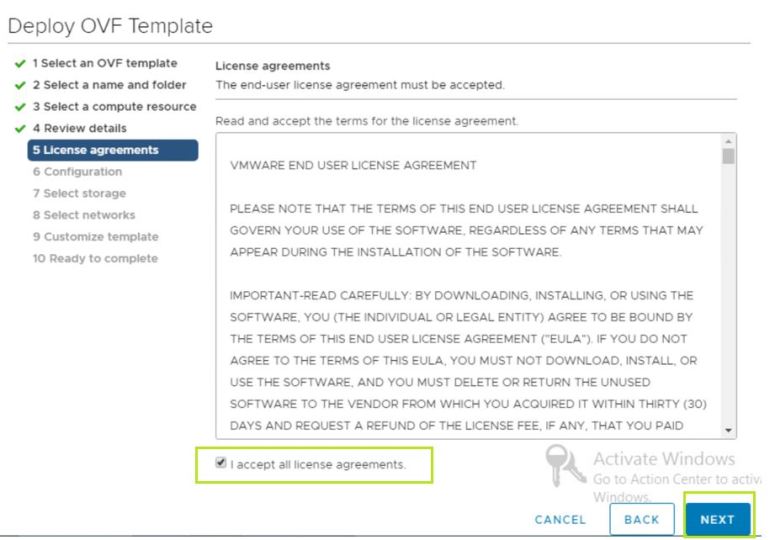
In the License Agreements dialog box, Accept the License agreement first and then Click Next
In the Configuration dialog box, Select the desired Size of the Virtual Appliance as per the Sizing Guidelines.
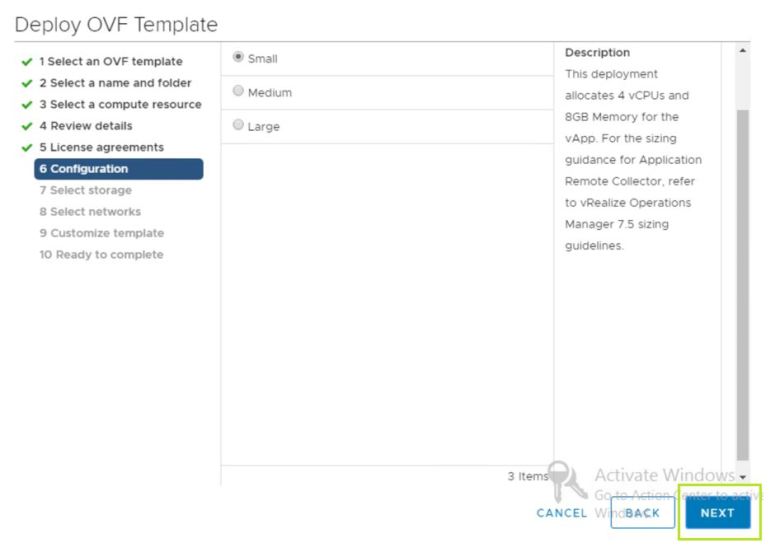
Click Next
In the Select storage dialog box, select the disk format that you want to use for the virtual appliance from the Select virtual disk format drop-down list. Select the datastore you want to place the virtual appliance on from the list.
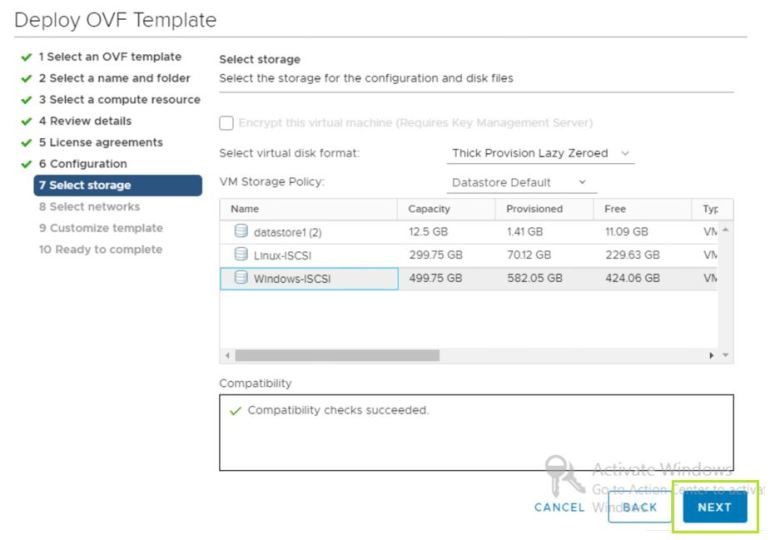
Click Next
In the Select networks dialog box, Select the network that you want to connect the virtual appliance to using the Destination Network drop-down list.
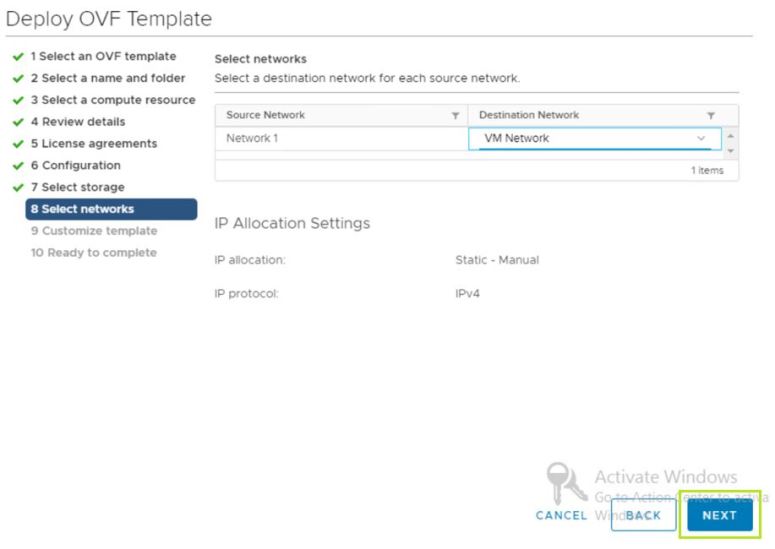
Click Next
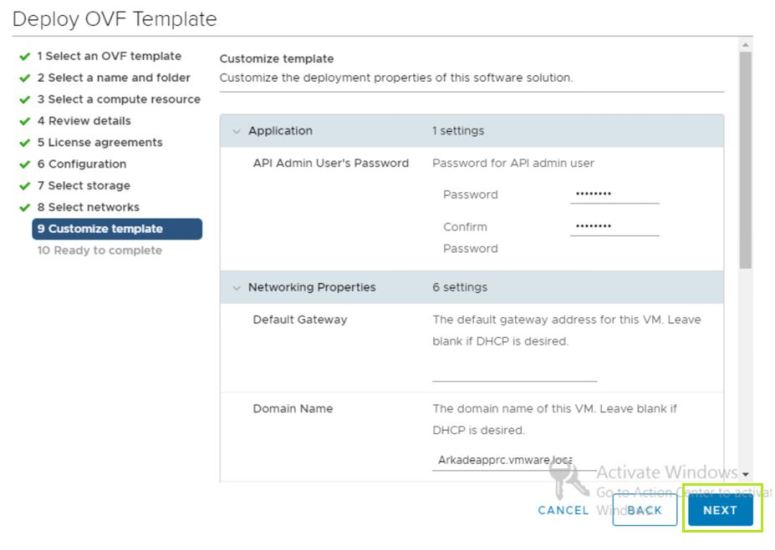
In the Customize Template dialog box, Enter the Required Information
API Admin User`s Password – Please remember this password as we will require it later while registering the Appliance with vROPs.
Default Gateway, Domain Name, Domain Name Servers, Domain Search Path, Network IP Address, Network Subnetmask
Click Next
In the Ready to Complete dialog box, Review the configuration data.
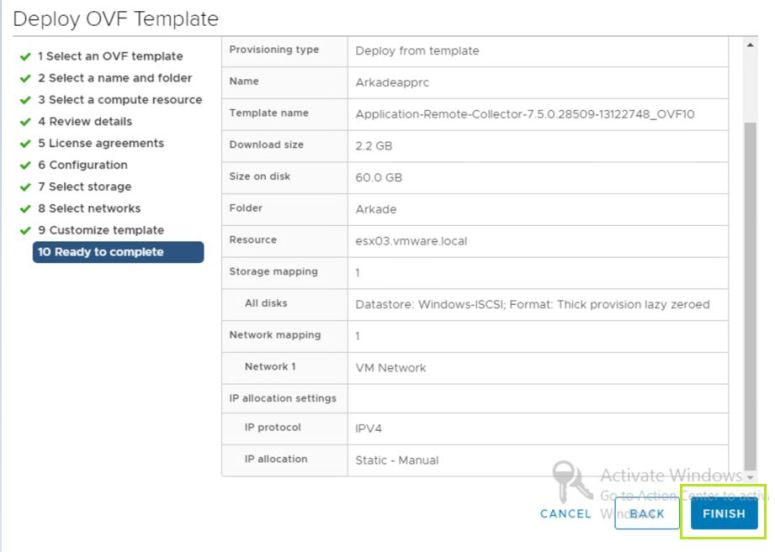
Click Finish and Wait for the Deployment to complete successfully.
Once the Deployment task is completed, Power On the Virtual Appliance and wait until it comes to the Blue Screen
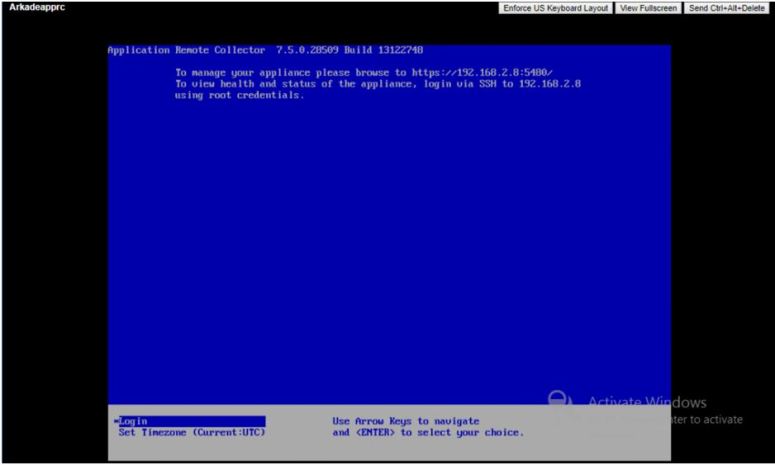
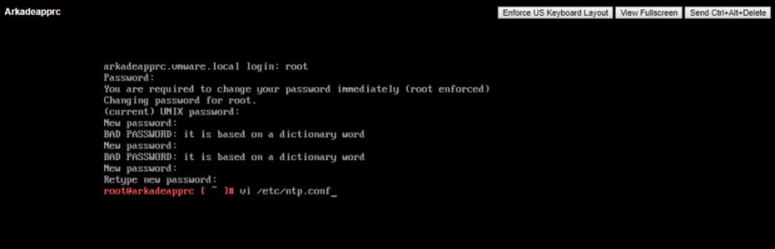
Login to the VM Console to complete the final configuration of the ARC VM. Use the Login option to access the operating system.
Login using username ‘root‘ and password ‘vmware‘ (all lower case). You will be prompted to change the password on first logon.
Now you to need to configure and start the ntp service. Use the vi editor to edit the ntp.conf file.
Using the editor add a new line to the configuration file to add the ntp server name.
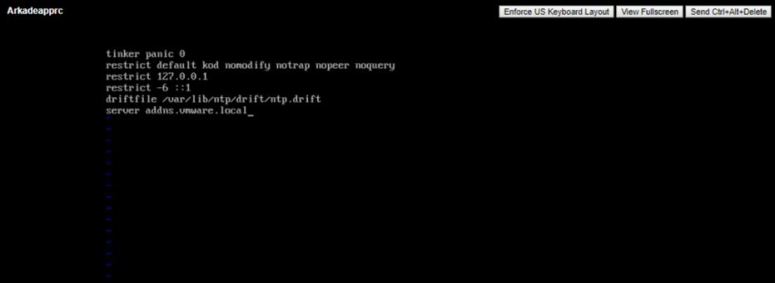
Save and close the file.
Now Start and enable the ntp daemon. You can also check the ntp status using the ntpstat command.
Also enable and Start the sshd service.

Now we need to register the newly deployed ARC Appliance with vRealize Operations Manager.
Login to the vROPs UI and Browse to Administration > Application Remote Collector
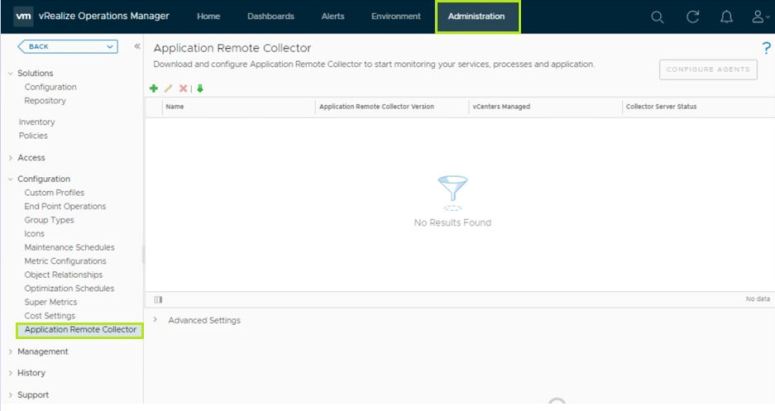
Click on the Add Icon and provide the connection info using the password set earlier during the Appliance deployment.
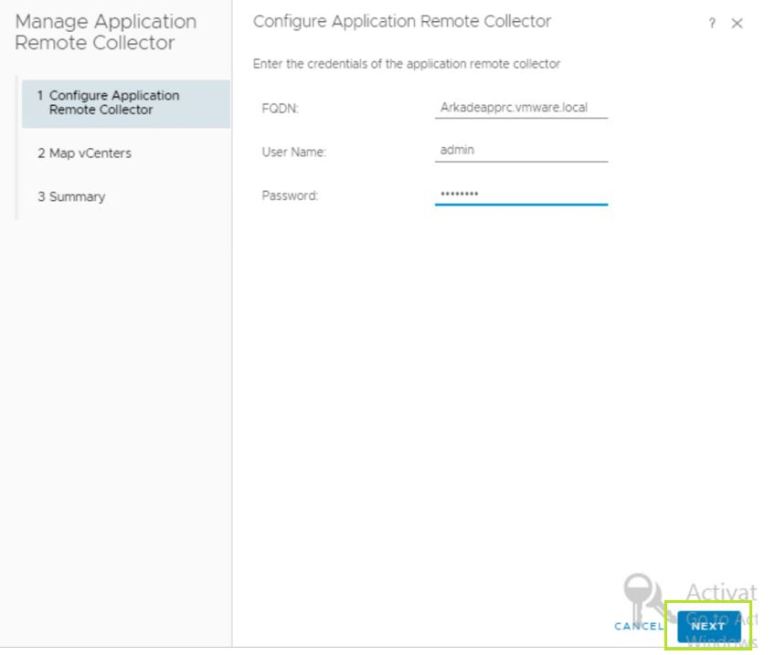
Click Next.
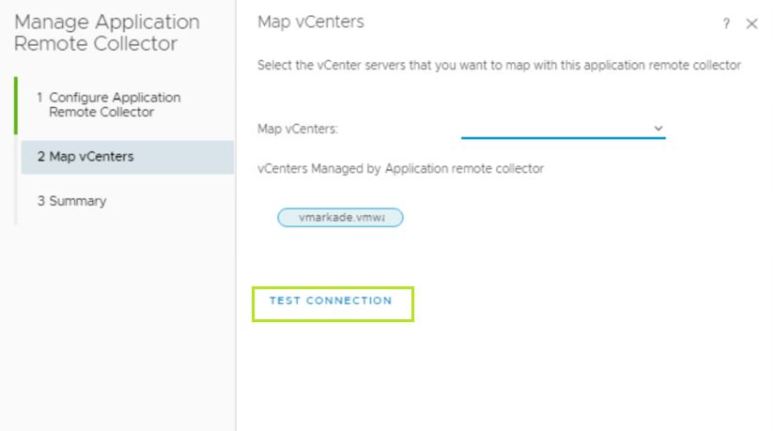
On the Map vCenters tab, Select one or more vCenter Servers.
Click on Test Connection
Review and Accept the Certificate.
Wait for the Test connection task to complete successfully.
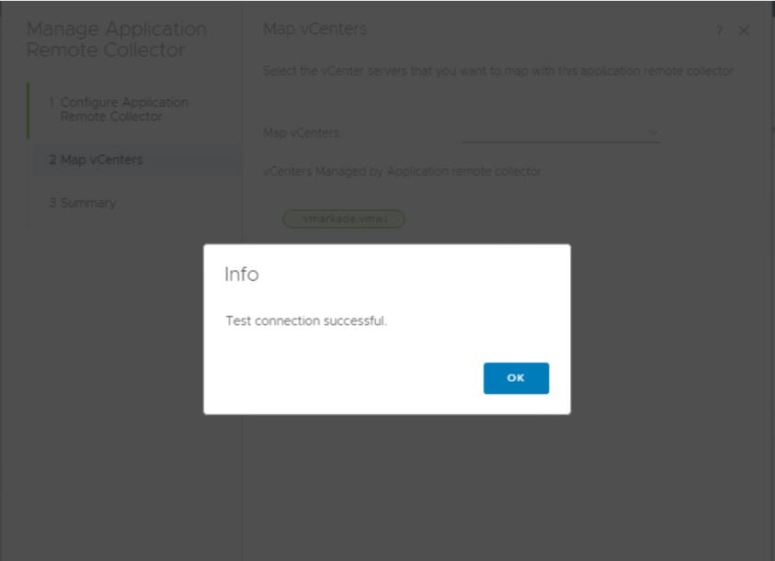
Click Ok and Next
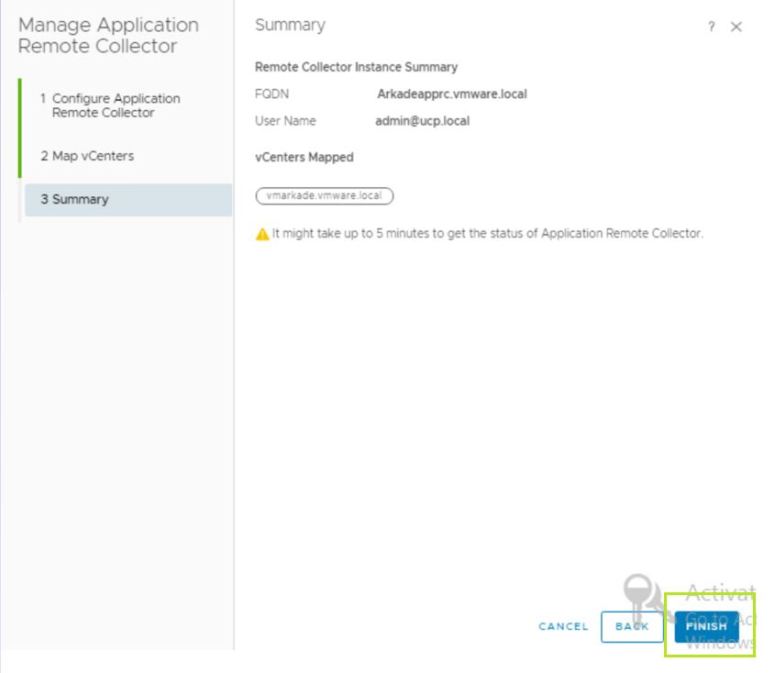
On the Summary tab, Review the configuration and click on Finish
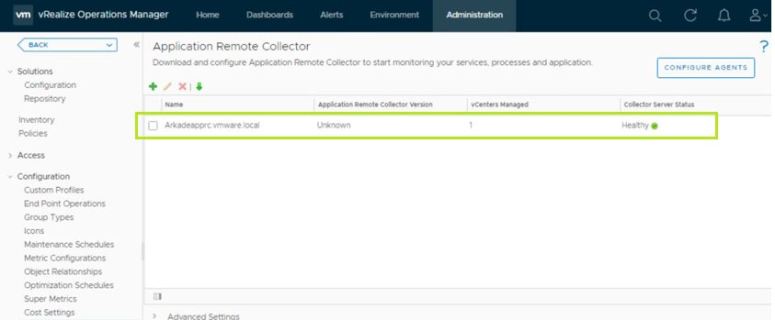
Wait for the data collection to complete.
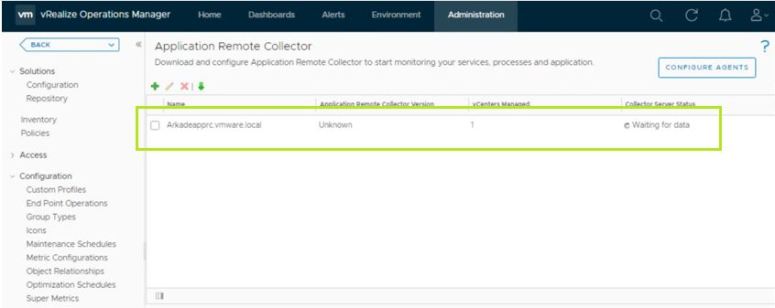
Once the Data Collection is complete, the ARC should now return to Healthy state.
Once the ARC has been setup we can configure the Agents to be installed on one or more VMs in the Inventory. We will look into the steps for the same in the next post.
This Concludes our post on Setting up the Application Remote Collector for vRealize Operations Manager.
Whether you like it or not but now we have to install a dedicated remote collector appliance for collecting application metrics. In previous releases, we would install end Point agents on VMs and they would communicate back to the vROPs cluster. From 7.5 we deploy a dedicated application collector appliance and the agents are pointed to the new collector instead.
Happy Learning !
